

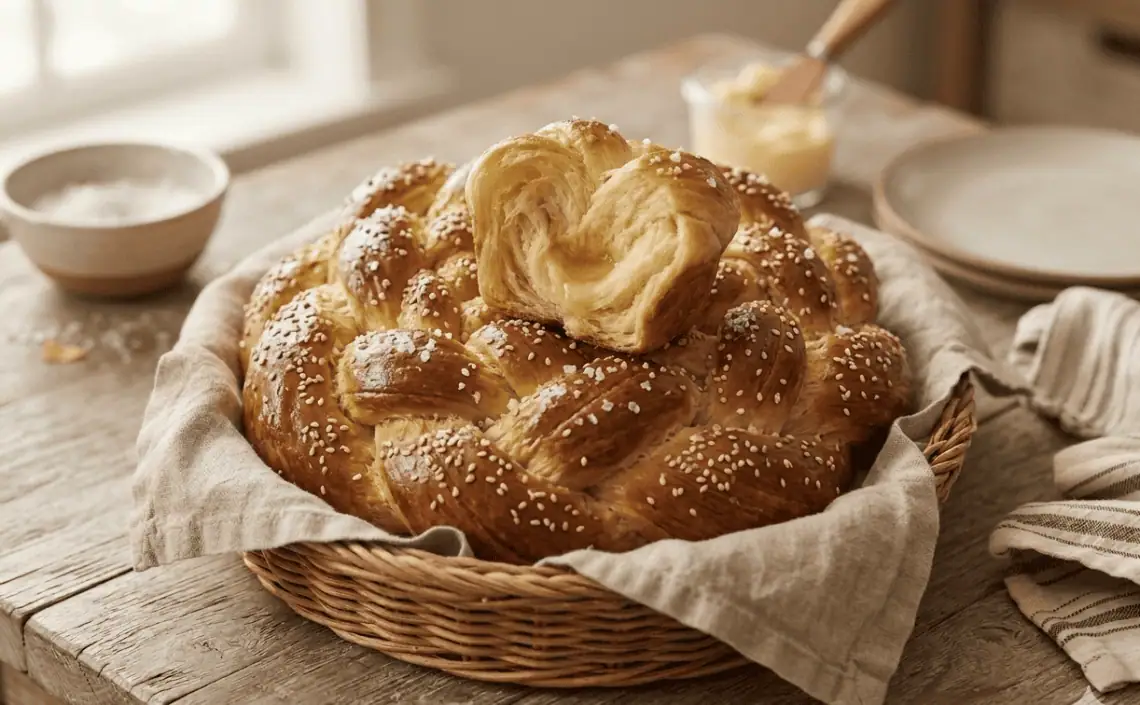

There’s a particular kind of magic that happens when a simple yeas-ted dough gets folded, layered, and coaxed into something spectacular. This golden butter rosette bread starts with humble pantry staples — flour, eggs, milk, a touch of honey — and transforms them into a soft, flaky, richly golden loaf that looks like it came straight from a European bakery window. The technique is simpler than it looks: roll, butter, stack, roll again, and let the oven do the rest. The result is a bread with tender, pull-apart layers and a glossy, egg-washed crust that makes any breakfast table or holiday spread feel a little more special.
Ingredients:
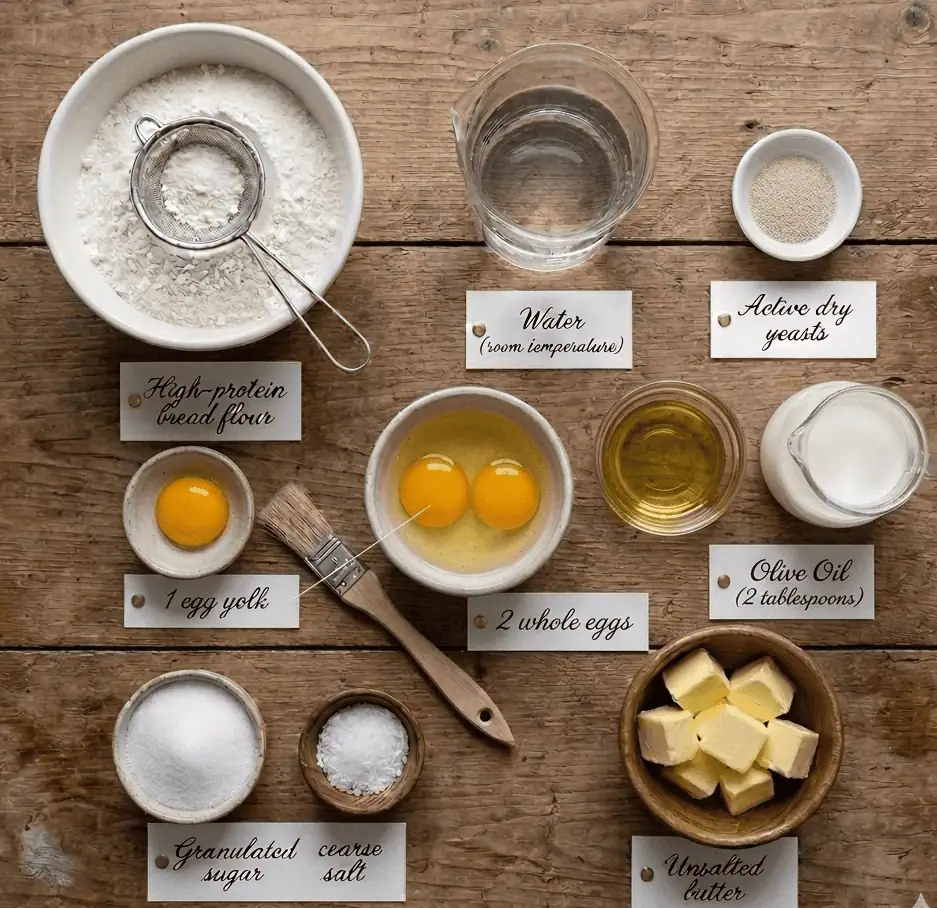
For the dough:
- 2 teaspoons dry instant yeast
- 1 tablespoon sugar or honey
- 100 ml warm milk
- 500 g all-purpose flour, plus extra for kneading and flouring
- 1 teaspoon salt
- 2 eggs, lightly beaten
- 150 ml warm milk (extra)
- 2 tablespoons olive oil
- ½ teaspoon vinegar or lemon juice
- 100 g butter, melted and cooled
For the glaze:
- 1 egg yolk
- 2 tablespoons milk
Instructions
- Bloom the yeast — dissolve yeast in warm liquid with a little sugar and wait for it to foam, confirming it’s alive and active.
- Knead — work the dough with your hands (or a mixer) to develop gluten, the stretchy protein structure that gives bread its chew.
- Proving / proofing — letting shaped or mixed dough rest and rise before baking.
- Doubled in volume — the dough has visibly grown to twice its original size; test with the two-finger poke method described in Step 2.
- Punch down — gently press the risen dough to release trapped gas before shaping.
- Egg wash / glaze — beaten egg (often with a little milk) brushed on dough before baking for shine and colour.
- Bake for 20–30 minutes, reducing the oven temperature to 160°C after the first 10 minutes, until deep golden brown.
- As soon as the bread comes out of the oven, brush the top with the reserved melted butter for extra shine and softness. Cover with a towel and let rest 10–15 minutes before slicing and serving warm.
Full Instructions below in printed version
HAPPY BAKING!
How to Make Butter Rosette Bread: A Beginner-Friendly Step-by-Step Recipe
Discover a modern twist on classic braided bread: rich, buttery layers folded into an elegant rosette shape. Full ingredient list, step-by-step method, and printable recipe card included.
Ingredients
For the dough
- 2 tsp dry instant yeast
- 1 tbsp sugar or honey
- 100ml warm milk
- 500g all-purpose flour plus extra for kneading and flouring
- 1 tsp salt
- 2 eggs lightly beaten
- 150ml warm milk extra
- 2 tbsp olive oil
- ½ tsp vinegar or lemon juice
- 1oog butter melted and cooled
For the glaze
- 1 egg yolk
- 2 tbsp milk
Instructions
- Activate the yeast("bloom" the yeast)In a small bowl, dissolve the instant yeast and sugar (or honey) in 100 ml warm milk. Cover and set in a warm spot for about 10minutes, until foamy and fragrant — this confirms the yeast is active and will give the dough proper lift.Beginner note: "Blooming" just means waking the yeast up. The warm milk rehydrates it and the sugar feeds it, so it starts producing bubbles you can actually see — a light foamy cap on the surface. "Warm" milk should feel comfortably warm on your wrist, like a baby's bottle (about 37–43°C). Too hot and you'll kill the yeast; too cold and it takes forever to activate. If nothing happens after 10 minutes, the yeast is likely dead — better to start over now than after kneading a full batch.

- Build and knead the doughSift the flour and salt into a large bowl and form a well in the centre. Add the beaten eggs, the remaining150 ml warm milk, olive oil, vinegar (or lemon juice), and the bloomed yeast mixture. Bring together by hand or with a stand mixer fitted with a dough hook, kneading until the dough pulls cleanly away from the sides of the bowl. Turnout onto a lightly floured surface and knead for about 10 minutes, until smooth, soft, and elastic. Place in a greased bowl, cover with a towel, and let rise in a warm place until doubled — roughly 1 hour. Beginner note: "Soft and pliable" dough should feel like a squishy stress ball — smooth on the outside, springing back slowly when you poke it, and no longer sticking to your hands or the counter. If it's tearing or feels stiff, keep kneading; if it's sticky, add flour a tablespoon at a time. To check if it's "doubled in volume," don't guess by eye alone — press two fingers in about an inch. If the dent slowly springs back, it's ready. A "warm place" can simply be an oven with just the light on (not heat), the top of the fridge, or any draft-free spot in the kitchen.
- Divide the doughPunch down the risen dough to release excess gas, then turn it out onto a floured surface. Divide into 2equal portions, then divide each portion into 4, for 8 pieces total.Beginner note: "Punch down" sounds dramatic, but it's just a gentle press with your fist to deflate the risen dough and release the trapped gas — no need to be rough with it.
- Roll and butterRoll each piece into a rough rectangle, 3–5 mm thick. Brush each sheet generously with the cooled melted butter, reserving any leftover butter for glazing later.Beginner note: It doesn't need to be a perfect rectangle — rustic edges are fine, since it all gets rolled up anyway Make sure the melted butter has cooled to room temperature first; warm butter will soak into the dough and make it soggy and hard to roll instead of sitting in distinct layers.
- Layer and roll into cylindersStack one buttered rectangle on top of another and roll tightly into a cylinder. Repeat with the remaining dough to form 4 cylinders in total.Beginner note: Roll from the short end so the finished cylinder is short and thick rather than long and thin — this makes it easier to cut and shape in the next step. Roll it snugly, but not so tight that the dough tears.
- Cut and shapeFor each cylinder, slice off both ends (about1.5 inches each) and set them aside. Cut the remaining middle section into 4triangular pieces.Beginner note: Use a sharp knife or a bench scraper and cut in one clean downward motion rather than sawing back and forth — sawing can squash the layers you just built.
- Arrange the rosettePreheat the oven to 180°C and line or grease a large baking tray. Arrange the cut end-pieces cut-side down in the centre of the tray to form a small circle. Surround this centre with the triangular pieces, cut side down, to build the rosette pattern. Cover with a towel and let prove in a warm place for 30–40 minutes.Beginner note: "Cut-side down" means the spiral of layers should face up so it's visible once baked — that's what gives the finished loaf its rosette pattern. This second rise is called "proving" — it's the same idea as the first rise, just shorter, and it puffs the shaped dough up before baking.
- Glaze and bakeWhisk the egg yolk with 2tablespoons of milk to make the glaze, then brush generously over the top of the shaped bread. Sprinkle with sesame seeds or another topping if desired. Bake for 20–30 minutes, reducing the oven temperature to 160°C after the first10 minutes, until deep golden brown.Beginner note: The egg glaze is what gives the crust its shiny, golden-brown finish — plain dough bakes pale without it. Dropping the oven temperature partway through stops the outside from browning too fast before the inside is fully cooked.
- Finish and restAs soon as the bread comes out of the oven, brush the top with the reserved melted butter for extra shine and softness. Cover with a towel and let rest 10–15 minutes before slicing and serving warm.Beginner note: Resting isn't optional —cutting into bread too soon lets the steam escape and can leave the inside gummy. Ten minutes under a towel lets the crumb finish setting while keeping the crust soft.
- Chef'sTip: For the flakiest layers, make sure your melted butter is fullycooled before brushing — warm butter can soften the dough too much and make itharder to roll into tight, defined cylinders.
ADVERTISEMENT